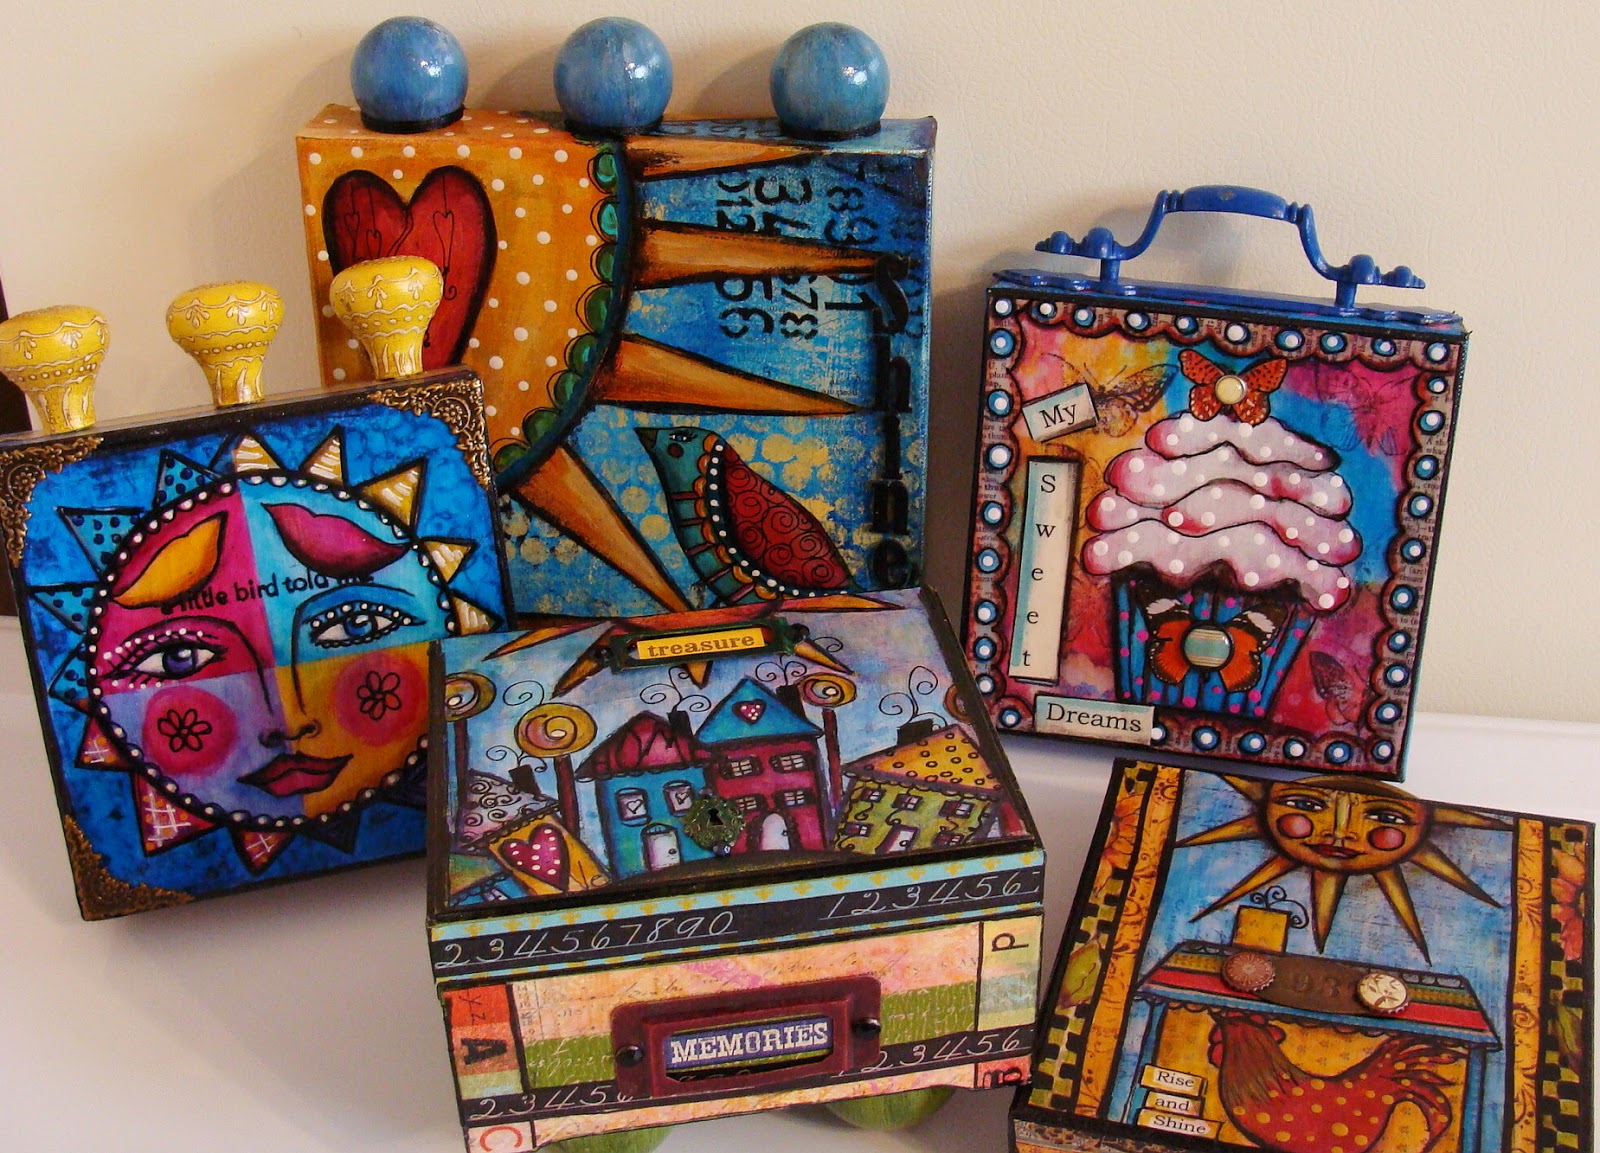
Well, we're not quite there yet, but only a couple of more days till 2015--so an early Happy New Year everyone! And I thought of starting the new year off with a small tutorial. First--the finished piece--
.JPG)
But let me back up, and show you how I started. I began by getting out my paints and art tools and warming up by painting papers on heavy card stock paper (110lb paper that I get at Staples office supply store)--

there's actually a lot more where these came from, but these are the ones that I chose for my 'palette'. As far as the techniques I used for these papers--there are endless step-by-step tutorials on you tube--if you put in a search for art journal backgrounds--you'll find them. I also have tutorials on painting papers on my blog here-under the tab "Tutorials". A lot of my favorite little tricks are ones that I discover by just fooling around or by accident--the happy accident. And I also want to add my Gelli Plate--my new friend! This is what I do to get me warmed up, and what I really enjoy doing, but there's no reason why you can't use scrapbook papers--or any decorative papers that you may have.
I worked on a 6 x 12 wood cradleboard with deep sides, which I decopauged with book pages--

I like working on the wood surfaces, because they're easy to stamp on and adhere papers to as opposed to the wrapped canvases, and I wasn't sure at the time what I was planning on doing--but again, this is whatever your preference is.
Next, for my background--

Next, for my background--
I got out my inktense blocks--these are great--a very intense watercolor stick, but I used gesso (any gesso, it doesn't matter) instead of water--I like the effect that you get when you use the gesso. Also a little acrylic ink here and there--this was the first layer.
Next layer--

I added a bit more acrylic paint here and there and some tim holtz tissue paper on the bottom with added color. There's no right or wrong--I could have kept going with the layers.
Next layer--
I added a bit more acrylic paint here and there and some tim holtz tissue paper on the bottom with added color. There's no right or wrong--I could have kept going with the layers.
So someone on my Facebook page requested a cat piece--and that's where the cat idea came from. First thing I did was make my 'template'--
.JPG)
And then I cut up the blocked-out segments of the cat and numbered them--making it much easier to cut out the same pieces with my paper--

...kind of like a puzzle :-)
So next--assembling this 'puzzle' on my cradle board--

my kitty with some daisies I just use regular gel medium to adhere all of these pieces.
next step--the fun part--

bringing everything to life.....I wanted to define the different papers, so I used my new Fude Ball pen. I recently discovered this pen--nice dark black, writes over basically anything, and permanent when dry. I also used some acrylic paint to shade the sides of the papers. This is also the time when the organic process starts--no plan in mind--I just listen to my muse. I added the scrolls with the pen, the butterfly and the Imagine stamp.
The finishing touches--
.JPG)
some brads for the flower centers, and.....

don't forget the sides---I used a small flower stamp. And then I coated it with coats of gloss varnish--the gloss gives it that mosaic/stained glass look that I really like.
If you have any questions about this project or to see lots more of my current art, please visit and like my Facebook Art page HERE
That's the best way to reach me
I have new artwork on there where I post most every day, and if you see anything that you would be interested in let me know!
If you have any questions about this project or to see lots more of my current art, please visit and like my Facebook Art page HERE
That's the best way to reach me
I have new artwork on there where I post most every day, and if you see anything that you would be interested in let me know!