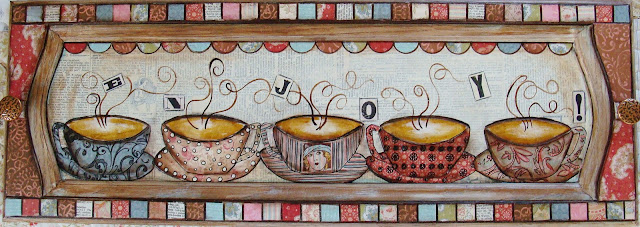
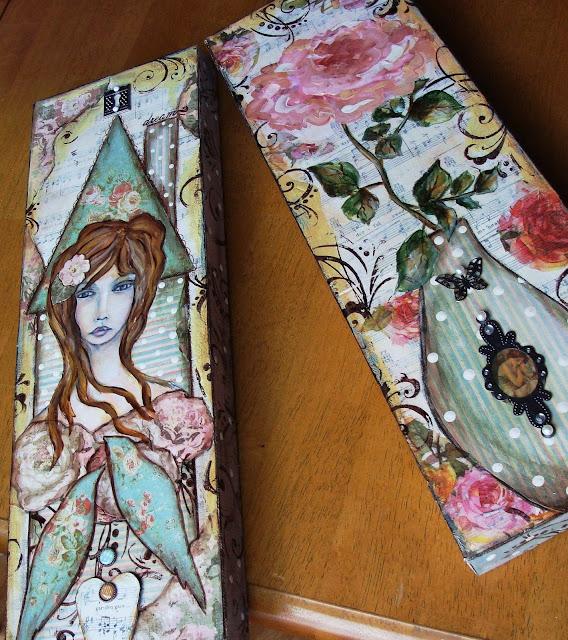
First off, I was inspired again by Jane DesRosier (Grittyjane). Her portrait paintings are exceptional, but I also love her series of folk art trees that she's been offering in her shop lately, and I was inspired by her to create my own version with my own little spin on it--

I did it on metal! This is a good size piece--it's on one of the wood panels that I purchased at Lowes. The size ended up being 12 x 22.
I just love the texture that the embossed metal gives. And I cannot tell you how easy this is to do and how fun. And I'll mention again that I have 2 tutorials on this technique HERE and HERE. On this piece I tried something just a little bit different and more revised than I've done before.
I made another piece the same as this one, and I took step-by-step photos to show anyone who's interested. I'm really happy with the way this next one turned out also. The first thing I did was cut my piece of metal (for a 6 x 12 gallery canvas), and then applied different colors of alcohol inks, and when it was dry I stamped all over it with a text stamp using a Staz on ink pad--
Then I flipped it over to sketch my design with a regular pencil lightly--
I sketched with the pencil first, because it will erase if you make a mistake. You can see at the nose and mouth that I erased--this doesn't come through on the front. So when I was happy with my sketch I outlined everything with a pitt pen (or marker). This was something I've never done before, and I don't know why. It makes the embossing part so much easier. Another little tip---sometimes the metal is wrinkled before you even start. You can just take an old credit card or brayer and smooth it right back down.
So after I put my initial sketch in--I embossed it--
and here's the right side--
(I embossed the word imagine on the front--I really can't spell backwards : )
So another new little thing that I did was add no more embossing Usually, I emboss the entire piece of metal, but I just wanted the main image to pop out. Then I got out my regular acrylic paints (I really recommend the artist grade acrylics for this step) and started painting--
....lots and lots of layers on her face. I wanted to completely block out the background color. But then for her dress, I just painted in the daisies (I wanted to tie this in with my tree piece) At first, if you try this, it seems like that the paint will never cover the metal, but it does, and I love the texture the acrylics bring with all of the layers.
It's a little tricky trying to get a good photo with this metal, because it's so reflective. I always add a gloss varnish to it after I spray a workable fixative on it. The color REALLY pops. I'm very happy with these pieces!
And now I'm off to do some Christmas shopping--I like to go Christmas shopping with all the crowds--I really mean that too!


