Showing posts with label textured papers. Show all posts

Saturday, January 14, 2017

New Workshop for 2017

I'll  be  back  teaching  again  in  Mayville, NY in September  at  Art Retreat at the Lake .   It's  a  ways  away  but  this  is  the  time  of  the  year  when  I  can  take  my  time  creating  and  planning  for  the  workshop,  being  not  bogged  down  with  shows  and  life  in general.    This  year  I'll  be  teaching  for  2  days  again  starting  out  with  what  else--but  painting  papers--it's  the  best  way  for  me  to  show  everyone  how  to  warm  up  and  get  those  creative  juices  going.


painting  and  using  our  gelli  plates

and  texturing  papers  with  a  Sizzix.   I  got  my  Sizzix  a  few  years  ago,  and  haven't  touched  it  in  a  while,  so  I  decided  to  make  some  embossed  papers  with  it  and  then  paint  them--


...they  turned  out  great!

We'll  also  be  embossing  metal  (which  is  so  fun  to do).  Here's  what  we'll  be  making  with  it--


And  we'll  also  be  taking  everything  that we  learned  to  make  this  piece--


.....painted  papers,  textured  papers,  embossed  metal,  plus  added  molding paste  and  embellishments  for  even  more  dimension....

---very  excited  to  teach  these  2  projects...

And  another  thing  that  I'm  excited  about  is  being  a  part  of  the  2017  DecoArt  Media  Design  Team


You  can  meet  all  of  the  talented  and  diverse  artists  HERE--such  a  thrill  for  me  to  be  included  in  this  group!

Monday, July 6, 2015

A Mini Tutorial--Painting Papers Again

I"ll  start  out  by  saying  that  I  have  a  problem  with  stencils--I  can  never  have  too  many--and  right  now--wherever  you  look,  you'll  find  new  styles,  sizes,  shapes,  etc.--which  is  fine  by  me.   One  of  my  favorite  places  to  find  them  is  at  Stencil  Girl  Products.  You  can  get  lost  in  that  place  for  hours--tons  of  stencils  designed  by  popular  mixed  media  artists.   This  time  I  ordered  some  from  a  couple  of  my  favorites--Carolyn  Dube  and  Laurie  Mika--took   2  of  the  new  stencils  I  got  and  combined  them  to  come  up  with  this  paper--


....and  I'll  show  you  how  I  did  this...

first  I  started  off  by  painting  a  background  on  a   110lb  white  cardstock paper (great  paper  from  Staples)


This  looks  great  as  is--but  I  wanted  to  keep  going  with  it.   So  I  go  out  my  delicate  surface  painter's  tape,  and  my  new  Carolyn Dube  Buildings  stencil


...and  my  black  acrylic  paint--
--some  tips--I  used  waxed paper  underneath  the  paper  when  I  put  the  tape on,  and  very  carefully  lifted  the  tape  up  when I  was  finished--I  didn't  even  wait  for  the  paint  to  completely  dry--I  wasn't  worried  about  the  paint  moving  as  I  was  more  worried  about  ripping  the  paper.   But  it's  pretty  easy  if  you  use  delicate  surface  tape--Scotch  brand.
 .......but  I  wasn't  finished.....

I  taped  up  the  paper  again,  this  time  in  the  opposite  direction  and  used  my   Laurie  Mika  stencil  using  Titan  Buff  paint.

and  that's  how  I  got  my  end  result--


 So next  I  got  out  my  gel  medium, and  some  scrapbook  paper  and  sheet  music  to  make  some  texture


I  like  to use  the  gel  medium,  because  it's  more  flexible  when  it's  dry,  and  when  you  cut  up  the  papers  for  collage  it  makes  the  textured  papers  very  easy  to  work  with.  I  pretty  much  covered  up  the  scrapbook  background  with  more  acrylic  paint,  but  I  didn't  have  to--I  could  have  wiped  some  paint  away  to  bring  out  the  original  background.   In  this  case,  though,  I  added  lots  of  layers  of  paint---putting  it  on  and  taking  it  away,  until  I  was  happy  with  it.

And  here's  another stencil  by  Carolyn Dube --this one's   great  on  its  own--


I  added  these  papers  with  other  ones  that  I  painted  and  textured,  and  even  some  Gelli  prints  thrown  into  the  mix--


I've  been  playing  a  LOT  with  these  papers  now,  but  this  post  is  getting  way  to0  long,  so  I'll  show  you  just one  piece  that  I  made  (show  you  more  in  the  next  post)

I  found  this  very  sad  cupboard  door at  a  flea  market  recently.  I  loved  the  size  (10 x 30),  and  I  knew  that  if  I  didn't get  it,  most  likely,  it  would  have  been  trashed.  It  was  in  really  bad  shape,  and  I  knew  I  could  do  something  with  it.


....so  I  started  using   my  papers--


 With  help  from  my  painted  papers  I  was  able  to  give  this  forgotten  cupboard  door a  new  life.    I'll  show  you  more  next  time......

Sunday, June 29, 2014

Part 2--Using My Textured Papers

So  I'm  back  with  more  art  pieces  using  my  papers  that  I  painted  (going  for  the  texture).

A  couple  of  12 x 12  gallery  canvases...


And  I  hadn't  made  a  mirror  in  a  while,  so  that  was  next...


Next  was  this  fun  piece--


I  took  an  8 x 8  wood  cradle  panel  and  flipped  it  over, plus  this  wood  heart  frame  that  I  found  at  Michaels--added  my  papers--


....put them  together--


....to  make  a  sweet  little  home  for  my  latest  fairy  girl  : )

And  on  Friday,  I  took  some  time  off  for  the  flea  market--


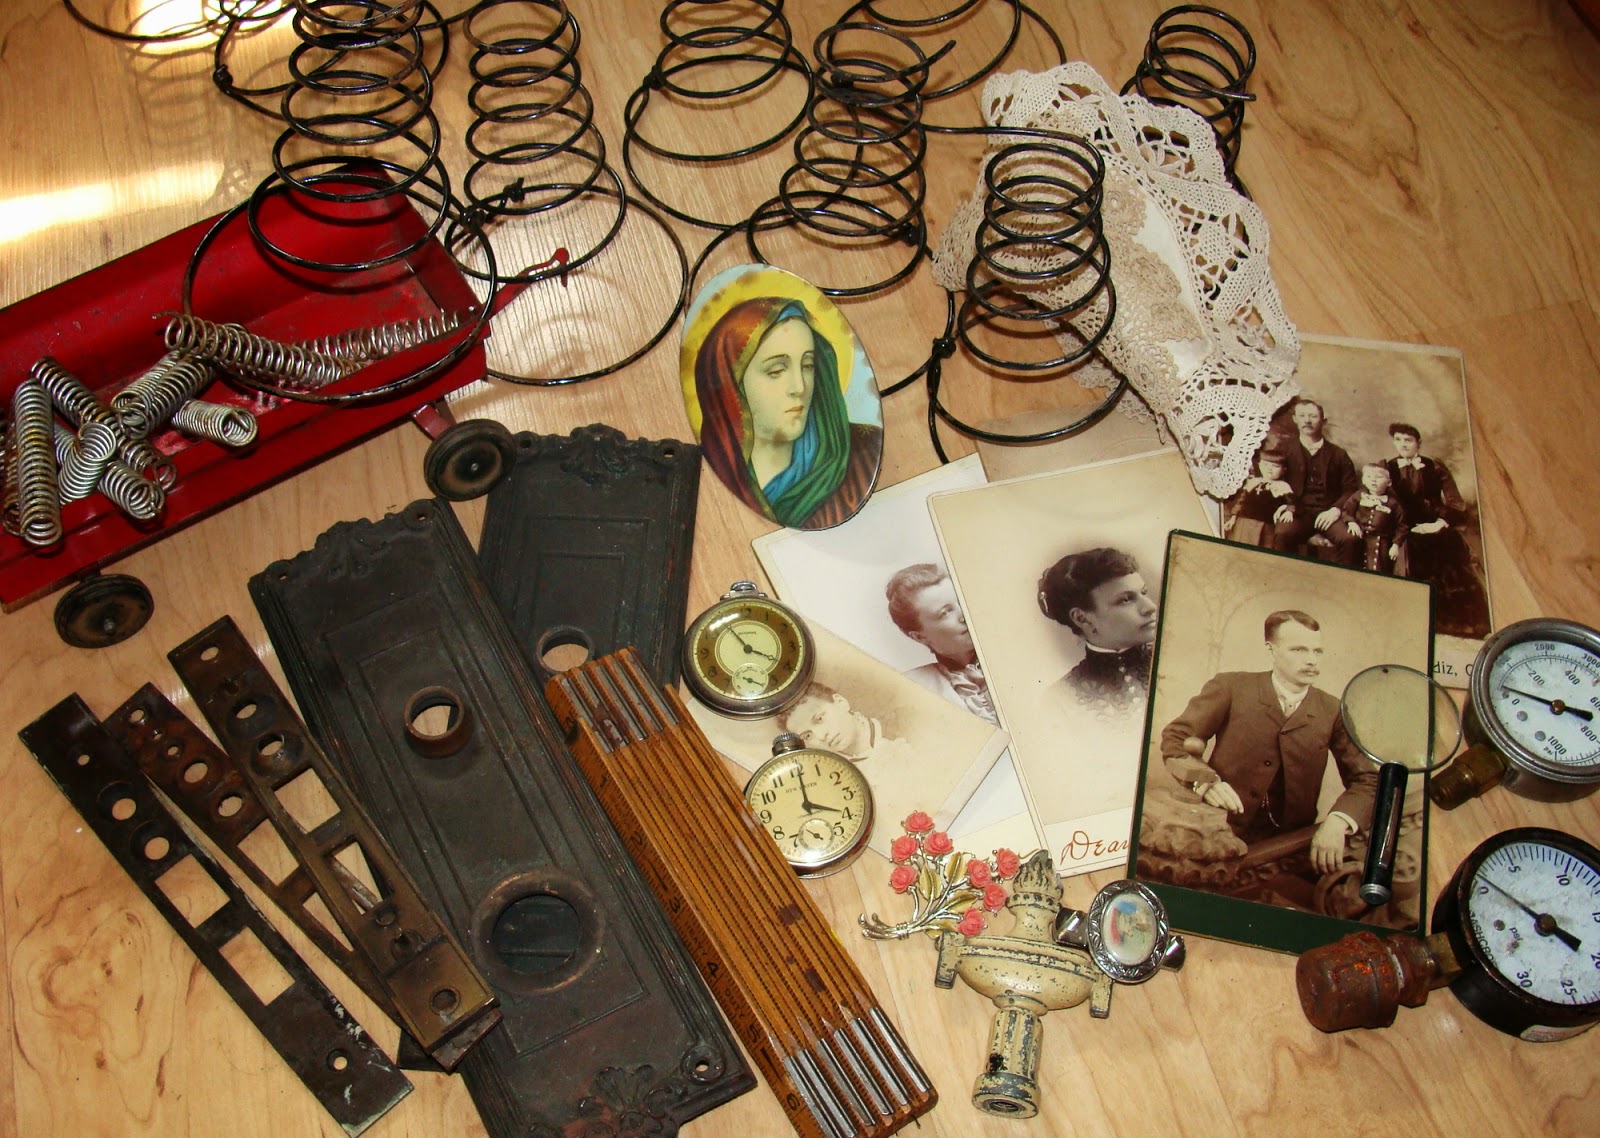
always  love  what  I  find--those  bed  springs--first  time  I've  seen  some  at  a  flea  market,   and  I  couldn't  pass  them  up--I'll find  some  use  for  them--I  know  I  will!

Friday, June 20, 2014

A New Start to Finish with New Textured Hand-painted Papers

Been  super  busy--really  getting  ready for  my  summer  shows--but  I  decided  to  take  some  time  for  my neglected  blog  by  showing  you  my  latest  piece,  and  a  little  bit  of  a  tell-all  on  how  I  made  it.   So  here's  my  latest  piece--


Oh--I  just  love  these  vibrant  colors!

But  I'll  take  you  back  to  the  beginning--I  got  out  my  110  cardstock  paper  (bought  it  at  Staples),  and  my  gel  medium  and  molding  paste.....and  a  texture  tool.....and  a  stencil.


The  orange  one  on  top  was  what  I  used  my  molding  paste  for--just  laid  my  stencil  over  the  un-painted  paper  and  scraped  the  paste  over  the  stencil  with  a  palette  knife.   And  then  when  it  was  dry,  I  just  added  my  paint--lots  of  layers  for  the  depth--that's  why  I  love  using  this  cardstock--it  will  stand  up  to  anything!
And  the  bottom  two,  I  just  randomly  applied  a  fairly  heavy  coat  of  gel  medium  over  the  paper,  and  used  my  texture  tool (a  hair  pick)  to  make  random  designs.   When  dry, I  added  my  paints  and  stencils--really  turned  out  great.

Still  painting  papers--


Still  going  for  texture  with  the  corrugated  cardboard  and  the  textured  wallpaper,  and  love  this  book  page.   I  found  the  book  at  a  recent  garage  sale--it's  like  6 x 20--very  cool  size.

So  next...........


....time  to  start  playing  with  this  10 x 20  gallery  canvas.

The  start  of  it--


I  collaged  pages  from  one  of  my  favorite  books  (another  garage  sale  find  from years  ago--I  use  it  ALL  the  time)  with  Golden  Matte  Medium,  and  then  added  the  yellow  wash  of  paint  to  it.

Getting  my  'frame'  on  it--


...with  all  of  these  wonderfully-textured  papers.

And  then  I  added  the  main  design  (the  birds).  And  then  I  like  to  outline  my  collaged  papers  with  my  Faber-Castell  black  brush  pitt  pen.   It  really  makes  everything  pop--

and  it  gives  it  that  stained  glass  look


And  I  didn't  forget  about  the  sides  either!


And  that's  how  I  did  it!   I'll  call  this  post  part  1--I'll  show  you  more  in  my  'part  2'  post.

Saturday, April 2, 2011

Having Some Fun and YES---Another Great Giveaway to Share

So  today  is  Saturday,  April 2,  but  as  I'm  writing  this  part  right  now,  it's  early  Friday  morning,  April 1.   I'm  at  my  kitchen  table  with  the  girls   enjoying  my  cup  of  Peet's  coffee.  And  I'm  looking  out  of  my  picture  window  and  admiring  the  beautiful  white  carpet on  the  ground  from  the  big  fluffy  snowflakes  that  are  falling  down--Ahhh--Spring--what  a  beautiful  Season!!

Okay.....whatever....on  to  the  blog  post--

I've  put  the  She-art  on  hold  for  a  while  and  decided  to  do  some  Diane-art


Diane-art  is  a  lot  different  than    She-art.   It's  all  about  different  shapes  and  patterns  and  a  pretty  much  planned  design.   It's  definitely  more  time  consuming,  but  once  I  figure  out  what  I'm  going  to do,  I  really  enjoy  the  process.    And  this  is  on  a  16 x 20  canvas.  I  haven't  worked  on  this  size  in  a  while--these  larger  sizes  always   intimidate  me  a  bit.

I  used  some  of  my  painted  papers,  some  speciality  papers  from  paperarts.com, and  also  artists'  papers  from  Somerset  Studio (I  finally  broke  down  and  bought  a  subscription, and  they  sent  me  a  pack  of  their  papers).   And  I  even   used  some   corrugated  cardboard  that  I  just  painted--I  love  this  stuff  to  use  as  a  collage  element.


And   Diane-art  usually   will  have  mirrored  designs  on  all  sides (but  not  always)


So,  what  does  this  say  about  my  personality?   I  guess  it  means  that  I  like  to  have  a  plan---don't  like  surprises.    And  this  is  why  I  probably  enjoyed  Christy's  class so  much--very  spontaneous--no  perfection--whatever  ends  up  on  the  canvas  is  the  way  it  was  meant  to  be--I'm  hoping  it  will  help  me  from  over-thinking  everything.

And  as  long  as  I'm  talking  about  She-art,  these  girls  are  certainly  the  ladies  of  the  hour--their  popping  up  everywhere  in  Blogland,  but  they  had  to  take  a  break  and  wash  those  pretty  clothes  we've  been  seeing  them  in.


Sooner  or  later--everyone  has  to  do  their  laundry.  But  don't  worry,  they'll  be  popping  up  again--if  not  here,  then  somewhere  in  Blogland.

And  another  giveaway --Becky  Bowman's--she's  giving away  this  original  painting  on  an  11 x  14 canvas--

I  LOVE  her  whimsy  style!!   Make  sure  to  enter  your  name!

So    I'm  finishing  my  post,  and  it's  now  early  Saturday  afternoon.   The  snow  is  gone,  the  sun  is  out,  and  it's  a  nice  'warm'  temperature  of  40 degrees.   NOW.....were  talkin  Spring!!

LinkWithin

Related Posts with Thumbnails