Showing posts with label stencils. Show all posts

Sunday, March 25, 2018

My Painting Process From Start to Finish

In   a  bit  of  a  condensed  form,  here's  how  I  sometimes  go  about  in  creating  a  piece.  I  have  trouble  with  being  intuitive.  I  most  times  have  to  have  a  plan,  so  this  is  where  my  sketchbook  comes  in handy.  I  have  lots  of  them  now  filled  with  sketches  and  ideas  that  come  to  mind.  They  help  me  a  lot  when  I  need  a  little  inspiration,  because  they  go  back  years,  and  I  like  to  just  go  through  them  and  see  how  I've  progressed--much  like  an  art  journal.   Here's  how  I  start--


First  comes  the  sketch  to  which  I  draw  on  to  my  painted  background  that  I  made  on,  in  this  case,  a  wood  cradle  board.   The  only  real  intuitive  process  I  have  is  the  background--I  work  fast  and  just  add  colors  that  appeal  to  me  and  layers  of  different  marks  using  different  mark-making  tools  and of  course,  stencils.  I  use  a  water  soluble  pencil  for  the  initial  sketch,  and  once  I'm  happy  with  it,  I  go  over  it  with  a  Faber-Castell  black  pitt pen.

Next  is  when  I  start  to  paint  in  my  design--


--leaving  some  of  my  original  background  for  the  foreground  to  add  to  the  design

close  up  detail--


I  made  lots  of  texture  with  this  starting with  my  first  background  layer  of  gesso.  I  applied  it  to  the  surface  fairly  heavy,  and  used  a  comb  and  credit  card  for  swirls,  making  sure  that  it  was  completely  dry  before  I  added  the  next  layer  of  paint.

the  finished  piece--


..so  happy  with  this!

And  another  piece,  created  in  the  same  manner--


I  hope  I've  inspired  you  to  make  some  art  in  your  own  way--doesn't  matter  what  you  do  as  long  as  it  makes  you  happy  :-)

Tuesday, December 27, 2016

New Funky Village for 2017--Step by Step

Not  quite  the  new  year  yet--but  almost.  Had  a  great  Christmas  with  all  of  my  family--really  fun  with  everyone  being  together  all  at  once--that  doesn't  happen  much  as  they  get  older--so  it  was  the  best  Christmas  gift.  In  between  all  of  this  celebrating,  I've  been  sneaking  away  to  my  art  room  and  playing.  My  favorite  way  to  relax (and  you  know  this  if  you're  a  frequent  visitor)  is  painting  papers.   This  time  I  got  out  my  alcohol  inks  and  yupo  paper  

I  found  this  tutorial  on  you tube  by  Mary Beth Shaw for  Stencil Girl Products--really  fun  and  very  easy  to  do.  

 Here's  the  link:  https://www.youtube.com/watch?v=nLPX-S7ZKpI

I  also  played  with  my  new  Gel Press plate
and  110lb cardstock  paper


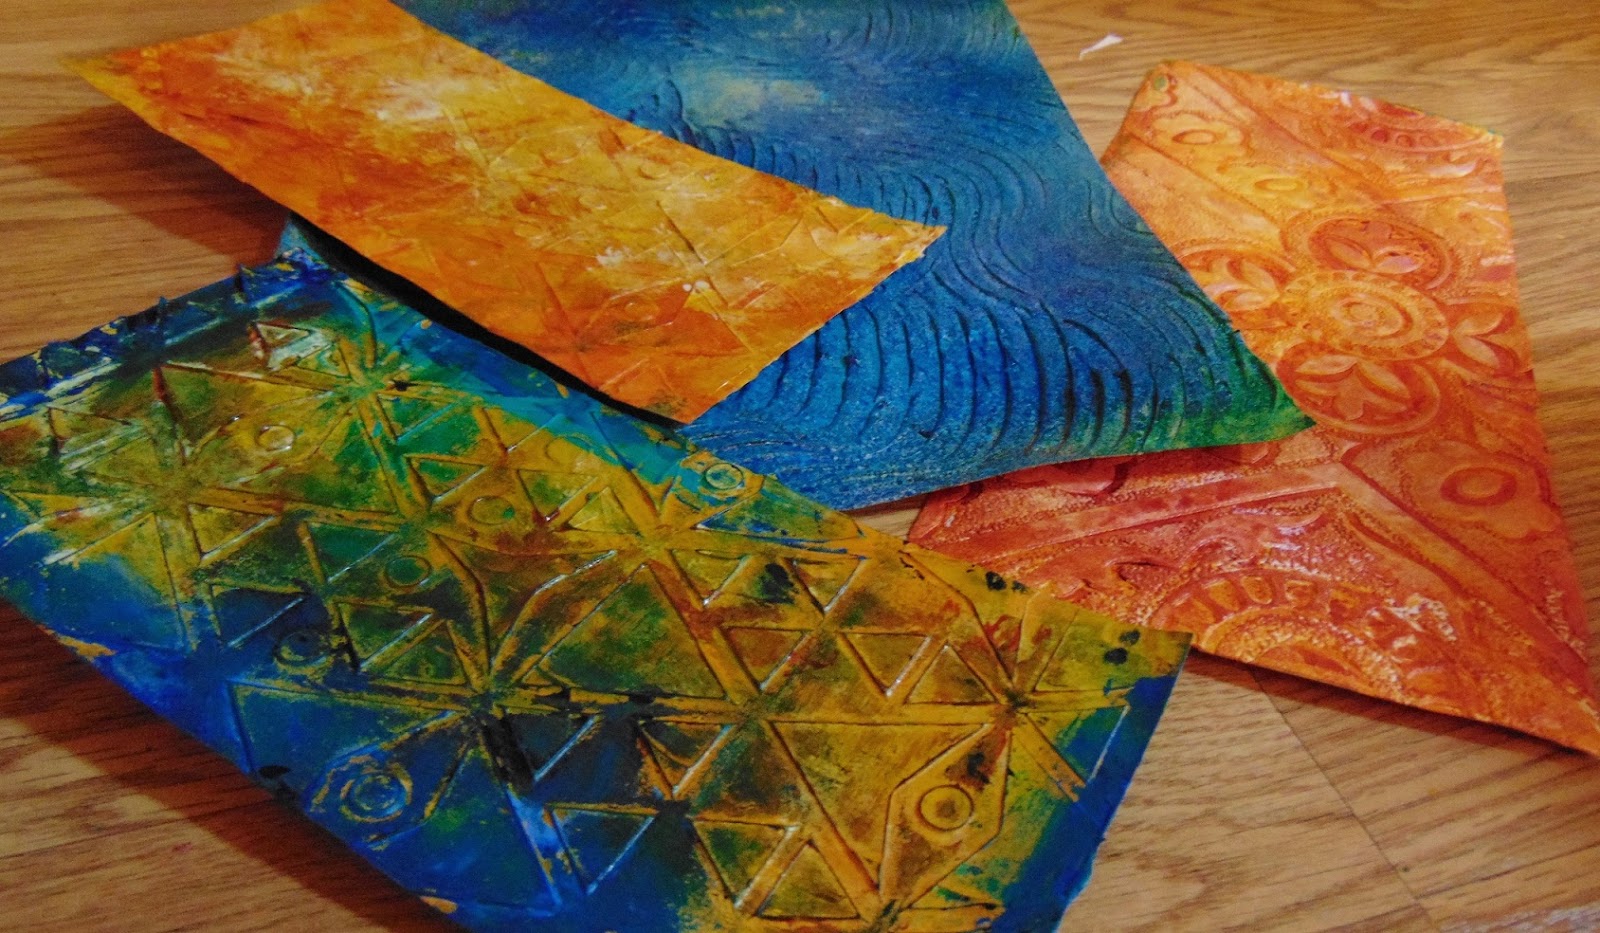
Next--made  some  textured  papers--


...with  gel  medium  and  stencils (and the  110lb  cardstock  paper  again)

So this was  my  color  palette  that  I  ended  up  with--


...and  I  decided  to  use  a  9 x 12 deep-edge  birch  cradle  board--my  favorite  substrate  to  work  on

Next  step  for  me  is  just  as  much  fun  as  the  first  one--


...my  first  layer  of  papers (my  background)--mosaic  style.  I  like  to  leave spaces  in  between  the  different  papers, so  I  can  fill it  in  later  with  my  black  pitt  pen
 (like grout in between mosaic tiles)

My  next  layer  is  when  I  added  my  main  theme,  houses  in  this  case--


.....and  then  my  'grouting'  with  my  pitt  pen--along  with  some  stamped  words  here  and  there


After I  sealed  it  with  gloss  varnish,  I  added  some  embellishments  for  further  dimension--


All  finished--


and  now  in  my  Etsy shop.   I  really  enjoy  making  this  mosaic-type  of  art  and  hope  this  funky  little  village  finds  a  new  home.  You  can  find  it  HERE  in  my  shop.

I  hope  you  all have  a  very  happy  2017!!

Monday, December 28, 2015

Guest Designer Over At Stencil Girl Products

Yes, I  have  another  tutorial  to  show  you,  but  you'll  have  to  head  on  over  to  Stencil  Girl  Products  where  I'm  the  guest  designer  today--is  that  not  great  or  what?!   You  can  see  how  I  made  this  box  from  start  to  finish--


This  was  a  fun  one  to  make, and  you  can  see  how  the  stencils  that  I  used  helped  bring  this  design  together.  Remember  to  check  it  out  HERE!

LinkWithin

Related Posts with Thumbnails