Sunday, March 25, 2018

My Painting Process From Start to Finish

In   a  bit  of  a  condensed  form,  here's  how  I  sometimes  go  about  in  creating  a  piece.  I  have  trouble  with  being  intuitive.  I  most  times  have  to  have  a  plan,  so  this  is  where  my  sketchbook  comes  in handy.  I  have  lots  of  them  now  filled  with  sketches  and  ideas  that  come  to  mind.  They  help  me  a  lot  when  I  need  a  little  inspiration,  because  they  go  back  years,  and  I  like  to  just  go  through  them  and  see  how  I've  progressed--much  like  an  art  journal.   Here's  how  I  start--


First  comes  the  sketch  to  which  I  draw  on  to  my  painted  background  that  I  made  on,  in  this  case,  a  wood  cradle  board.   The  only  real  intuitive  process  I  have  is  the  background--I  work  fast  and  just  add  colors  that  appeal  to  me  and  layers  of  different  marks  using  different  mark-making  tools  and of  course,  stencils.  I  use  a  water  soluble  pencil  for  the  initial  sketch,  and  once  I'm  happy  with  it,  I  go  over  it  with  a  Faber-Castell  black  pitt pen.

Next  is  when  I  start  to  paint  in  my  design--


--leaving  some  of  my  original  background  for  the  foreground  to  add  to  the  design

close  up  detail--


I  made  lots  of  texture  with  this  starting with  my  first  background  layer  of  gesso.  I  applied  it  to  the  surface  fairly  heavy,  and  used  a  comb  and  credit  card  for  swirls,  making  sure  that  it  was  completely  dry  before  I  added  the  next  layer  of  paint.

the  finished  piece--


..so  happy  with  this!

And  another  piece,  created  in  the  same  manner--


I  hope  I've  inspired  you  to  make  some  art  in  your  own  way--doesn't  matter  what  you  do  as  long  as  it  makes  you  happy  :-)

Tuesday, March 13, 2018

Paper Mosaic Houses

I'm  always  trying  to  think  of  a  way  to  use  up  my  paper  scraps,  and  this  time  it  was  a  very  fun  way--
I  purchased  these  long  wood  boards  from  Lowes,  and  then  had  my  husband  cut  them  down  into  12  inch  tall  'houses'. 


Now   if  you  don't  have  a  husband  and  don't  know  how  to  do it  yourself,  Lowes  will  do  it  for  you  :-)
 Next,  I  gathered  up  some  of  my  paper  scraps--


This  is  only  a  fraction  of  what  I  have--I  just  didn't  want  to  get  overwhelmed.   And  then  I  just  started  collaging  the  papers on  to  the house--

A lot  of  times,  I  will  just  randomly  adhere  the  papers  on  as  I  find  them,  but  this  time  I  had  a deliberate  plan  in  mind.  I  wanted  it  to  look  like  mosaic  tiles.   And  the  heart  is  a  wood  heart  that  I  glued  down  on  to the  surface  to  give  it  more  dimension.
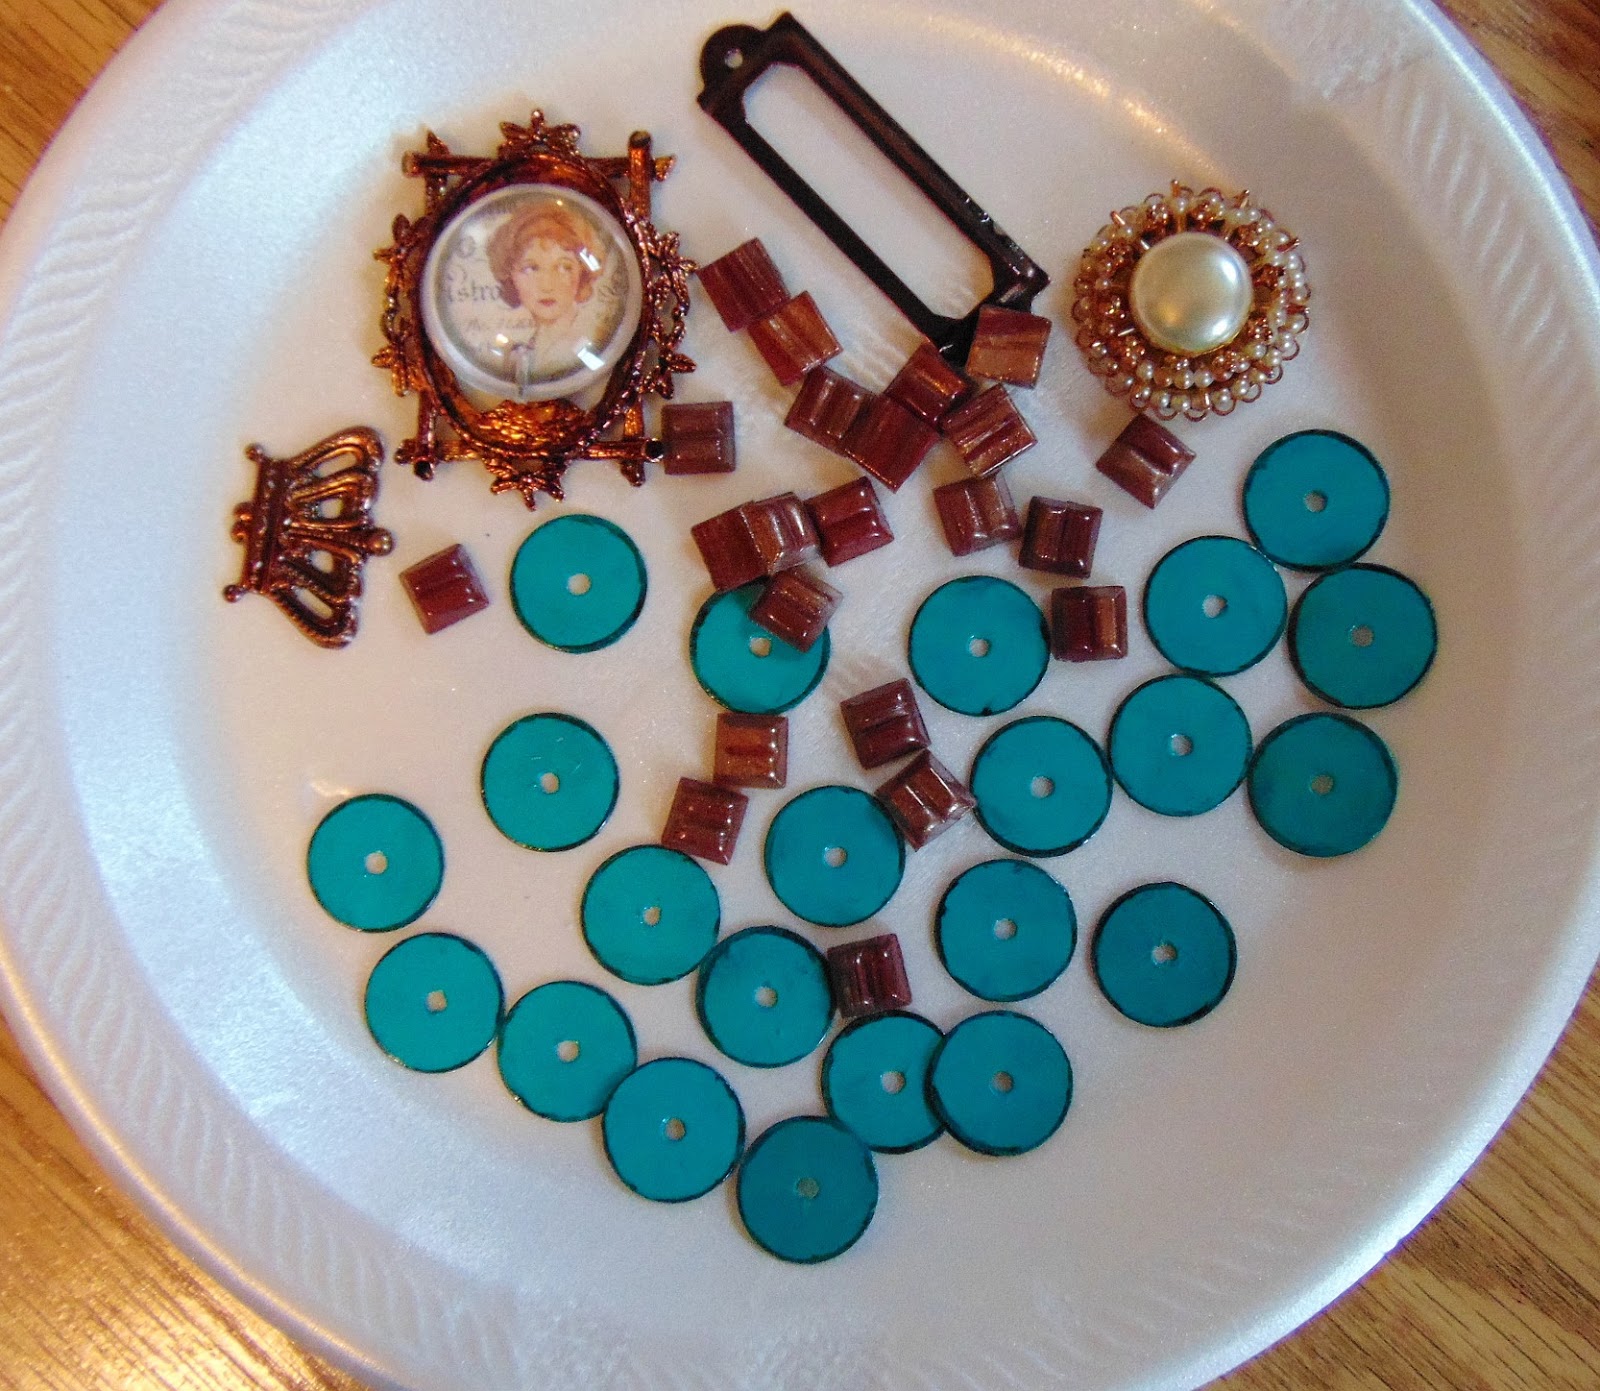
Next,  I  gathered  my  embellishments--


...and  added  color  to  them  to  make  them  more  cohesive  for  the  piece.  My  finished  house--


start  of  my  next  house--


...and  the  finish--


And  I  kept  going--


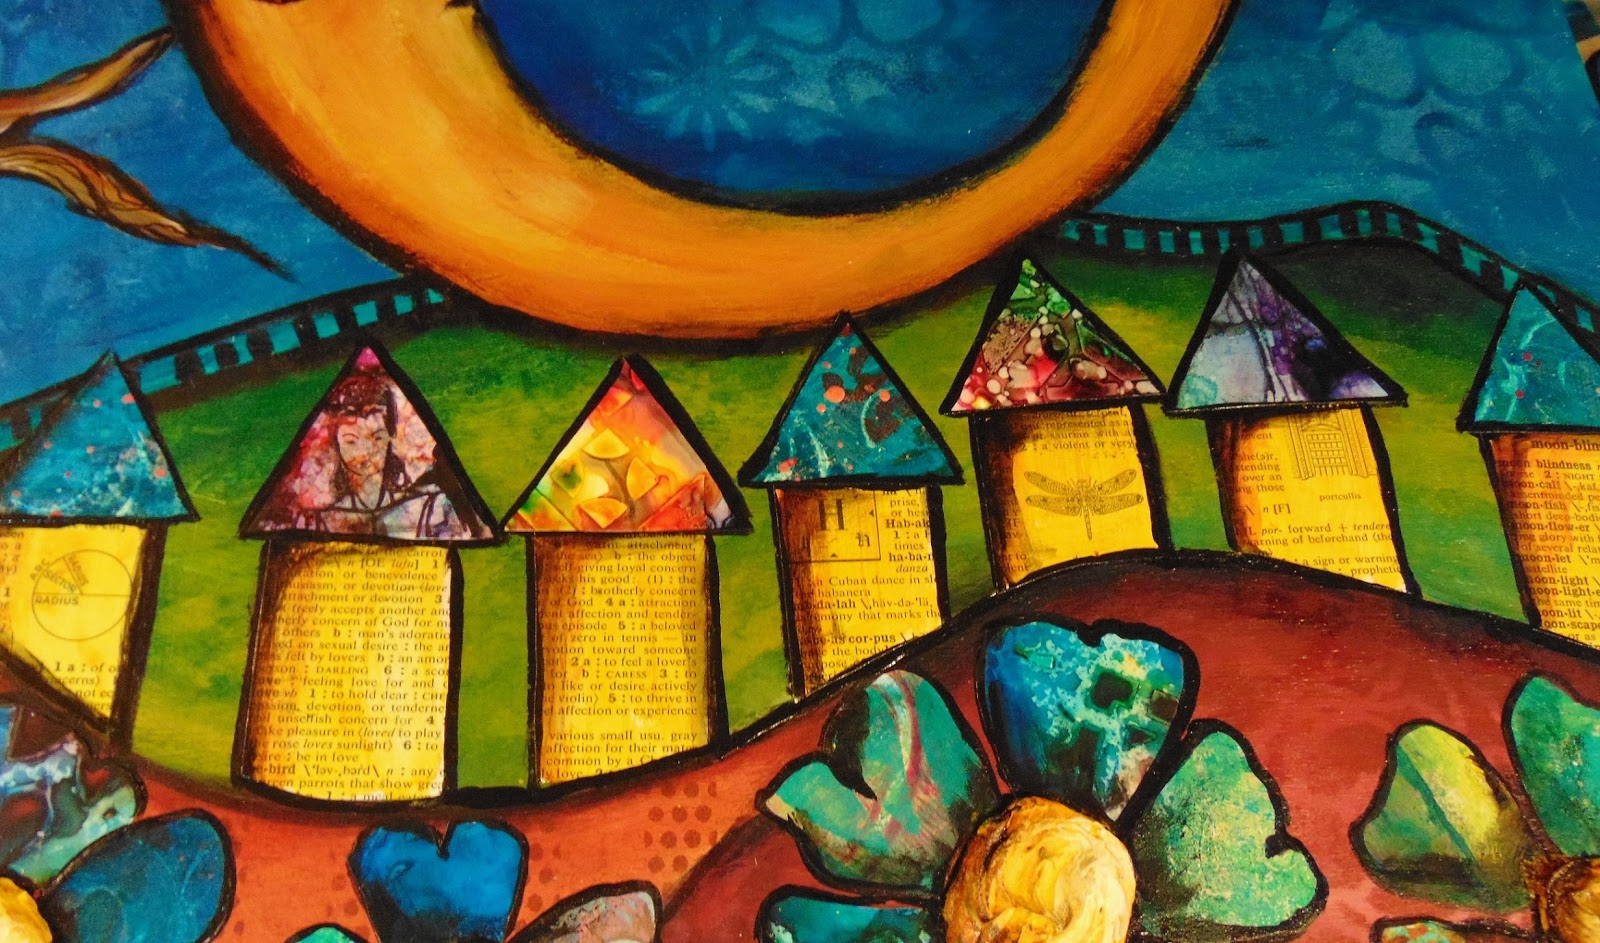
Here  is  my  quirky  village--


....all  in  a  row...

This  is  a  great  way  to use  those  paper  scraps  that  you  may  have  and  don't  know  what  to  do  with--any  paper  scraps--or  fabric  scraps  for  that  matter.   Once  you  start,  they  will   make  themselves--which  happened  to  me  in  this  case--they  were  very  fun  to  create!

Sunday, March 4, 2018

Here Comes the Sun (and Moon)

This  time  of  year  always  has  me  thinking  about  the  sun,  probably  because  there's  a  lack  of  it  around  here  (anxiously  awaiting  Spring!).   And  since  it's  one  of  my  favorite  subjects  to  paint,  that's  what  I  do......along  with  the  moon--


and  close-ups  of  my  favorite--


This  one  is  on  an  18 x 24 cradle  board.  Painting  is  my  happy  place--it's  what  keeps  me  from  going  crazy  this  time  of  year.  I  am  definitely  ready  for  Spring.  It's  so  great  to  find  your  passion  or  your  'happy  place'--probably  the  hardest  part  is  finding  it,  but  once  you  do,  you'll  know,  and  even  dark  gloomy  days  won't  get  you  down--Happy  Spring  everyone!  (even  though  it's  a  bit  early  : )

Friday, February 16, 2018

Get Inspired

 My  favorite  surface  to  work  on   these  days  is wood.   So  here  is  how all  of  my  latest  art  started  out--

The  long  tall  board  I  bought  at  Lowes --it  started  out  as  an  8ft.  board  and  I  had  my  husband  cut  it  in half  into  the  shape  of  a  house--so  now  I  have  2  house  shaped  boards--very  inexpensive.

So  the  first  thing  I  did  was  find  some  collage  papers  for  it.  I  didn't  paint  any papers this  time.  I  figured  it  was  time  to  use  some of  these thousands  of  scrapbook  papers,  book  pages, maps--you  name  it  that  I  have  been  gathering  all  of  these  years.


and  next  came  the  first  layer--


and  continuing  on--


This  piece  resulted  from  a  class  that  I  took  last  year  at  the  art  retreat  that  I  taught at  also  from  Carrie  Tredo.---she's  a  very  talented  artist,  and  I'm  happy to  say  that  her  and  I  will be  teaching  again  this  September  in  Mayville,  NY  on  beautiful  Lake  Chautauqua  on  Sept.  5-7.  You  can  find  it's  facebook  HERE

and  having  more  fun  with  these  other  wood  pieces--


This  is  on  an  8 x 8  deep  edged  cradle  board  inspired  by  Finnabair.  I  found  her  work  years  ago,  and  immediately  fell  in  love  with  this  dimensional  style  of  art-making. 

and  here's  the  rest  of  the  story--


And  some  more  creative  playing--


All  of  this  resulted,  I  have  to  say,  from  trying  to  clean  out  my  art  space,  which  kind  of  failed  miserably,  but  not  really,  because  I  kept  finding  all  of  these  'supplies'  that  helped  bring  these pieces  together  and  gave  me  some  great  inspiration.  You  should  try  this  too--if  you  happen  to  be  in  a  slump--'clean'--it  has  its  benefits!

Friday, January 12, 2018

Finally--Some New Art For 2018--My Step-by-Step Process

We  have  been  snowed  in  here,  and  just  now  thawing  out,  but  I  don't  mind  really.   I  like  to  nestle  in  my  art  room  and  play--it  feels  great  to  be  getting  back  into  the  zone!   So,  I  started  out  with  my chosen  'color  palette'--


painting  papers  again,  which  I  love  to  do,  and  my  substrate-- a  10 x 10  wood  cradle  board.

next--making  my  background  with  my  papers--


When  I  plan  a  piece,  it's  just  that--I  usually  have  to  have  a  plan  in  mind--so  I  start  with  a  sketch--and from  there,  I'll  make  my  template


And  then if  I  let  it,  my  muse  will  come  and  help  me,  and   let  my  'plan'  tell  me  what  to  do--


--next,  are  my  owls--


...putting  them  on  to  the  canvas,  with  gel  medium  and  some  more  painting--


see  the  word  play  above  her  heart??--totally  unintentional--love  when  that  happens!

My  finished  piece--


Love--To  the  Moon  and  Back

and  more  paper  play--


Start  the Journey

Now  that  I'm  making  new  art,  I  can't  stop!--stay  tuned....

Wednesday, December 13, 2017

New Listings in my Etsy Shop

I  haven't  been around  much  here--lots going on  in  my  personal  life--not  good,  but  happy  to  say  getting  better.   I'm  getting  back  to  my  happy  place--my  studio.

To  start  off,  I've  added  some  of  my  art  pieces  in  my  Etsy  shop--


You  can  find  these  and  more  HERE

I  will  be  back  as  I  start  to  create--hopefully  soon.

And  I  wish  everyone  a  Happy  Holiday  season  and  thank you  so  much  for  your  continued  support!

Tuesday, October 17, 2017

Patchwork Pumpkin Tutorial

Hey everyone--just in time for Fall  and  Halloween--a  pumpkin--in  my  style.  You  can check  out  my  step-by-step  tutorial  over at  the  DecoArt  Mixed  Media  blog  HERE


LinkWithin

Related Posts with Thumbnails